Replacing a Commercial Gasket Yourself: When It Works and When It Costs More
A snap-in reach-in gasket is a genuine DIY job if you order the right part. Here is where that goes wrong, and what a service visit adds beyond the install.
Quick answer: Whether you can DIY it depends on the door. A snap-in gasket on a reach-in cooler or a prep table lid, with the exact part number in hand, is a fair job for most kitchen managers. A gasket on a walk-in swing door, a screw-mounted run, or a door that's already sagging is a different project, and DIY attempts on those usually cost more once a technician has to fix what went wrong.
The Gasketeers field this exact question every week from kitchen managers across Boulder County who'd rather swap a seal themselves than book a service visit. Some of them should. Here's how to replace a commercial refrigerator door gasket on the jobs that genuinely suit DIY, and why the rest tend to bite back.
Snap-in reach-in and prep table lid gaskets are usually straightforward DIY jobs if you order the exact profile.
Screw-in runs, walk-in swing doors, and compression profiles are harder to seat correctly without practice.
Most failed DIY attempts trace back to the wrong profile, a stretched gasket, or a door that was never square to begin with.
A professional gasket service visit checks hinges, closers, and door alignment, not just the seal.
How to replace a commercial refrigerator door gasket yourself: the jobs that work
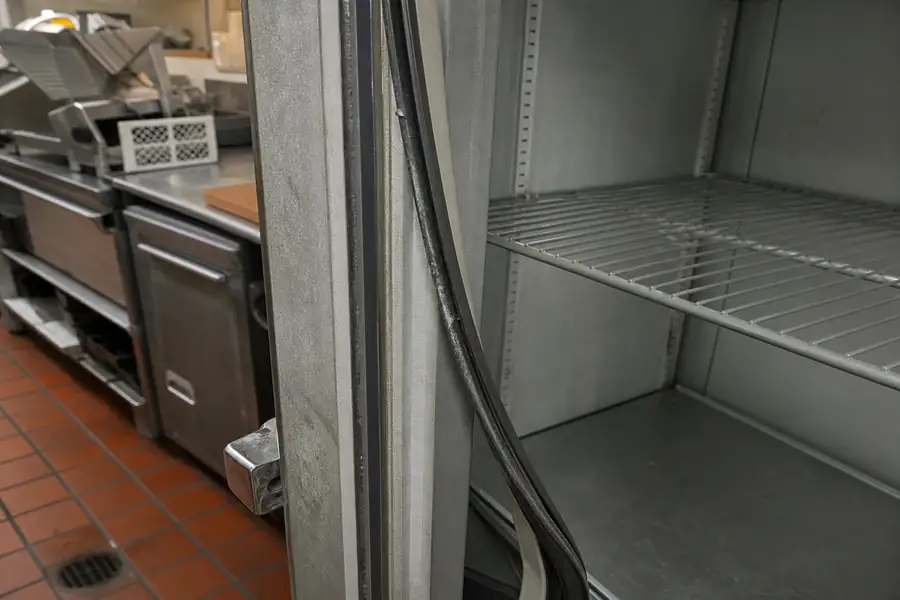
A snap-in gasket on a reach-in cooler is a genuine DIY job if you order the correct profile number and the door is still square on its hinges. These gaskets have a bulb edge that presses into a channel around the door frame, no screws or adhesive involved.
A snap-in reach-in gasket, correct part in hand
Warm the new gasket in hot water or a warm kitchen for ten minutes so it flexes without cracking. Press the bulb into the channel at one corner, work each side toward the opposite corner, and save the last corner for the section with the most give. This works on most reach-ins from True, Beverage-Air, Turbo Air, and similar brands, provided the profile matches the door exactly. If tracking down that part number sounds like more trouble than it's worth, professional gasket fitting on a reach-in cooler or freezer usually takes less time than the search.
A prep table lid seal
Prep table lid gaskets use the same snap-in logic on a shorter, flatter run, which makes the corners easier to seat. The main risk is buying a profile sized for a door gasket instead of a lid gasket, since the two look similar in a catalogue photo but seat differently.
Need a gasket replaced?
Call us or send your unit's model number. Free quotes across Boulder County, usually same week.
Screw-in gaskets, walk-in doors, and compression profiles are where DIY jobs tend to cost more than a service call, because the margin for error is smaller and door hardware is almost always part of the problem.
Screw-in and screw-mount runs
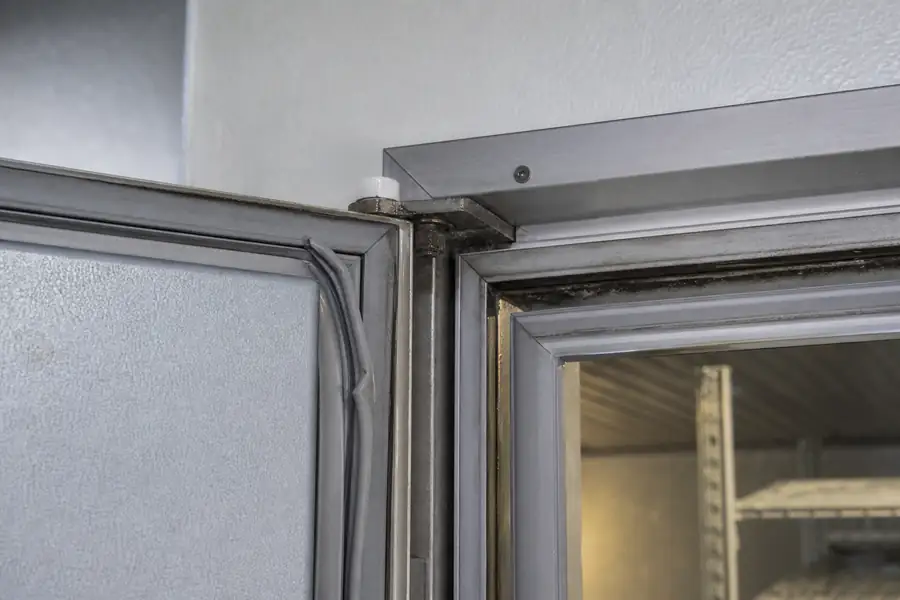
A screw-in gasket runs through a channel held by screws along its length, often paired with a cam-lift closer that pulls the door tight as it swings shut. Getting the run straight and the closer tension right at the same time is where most DIY jobs go sideways.
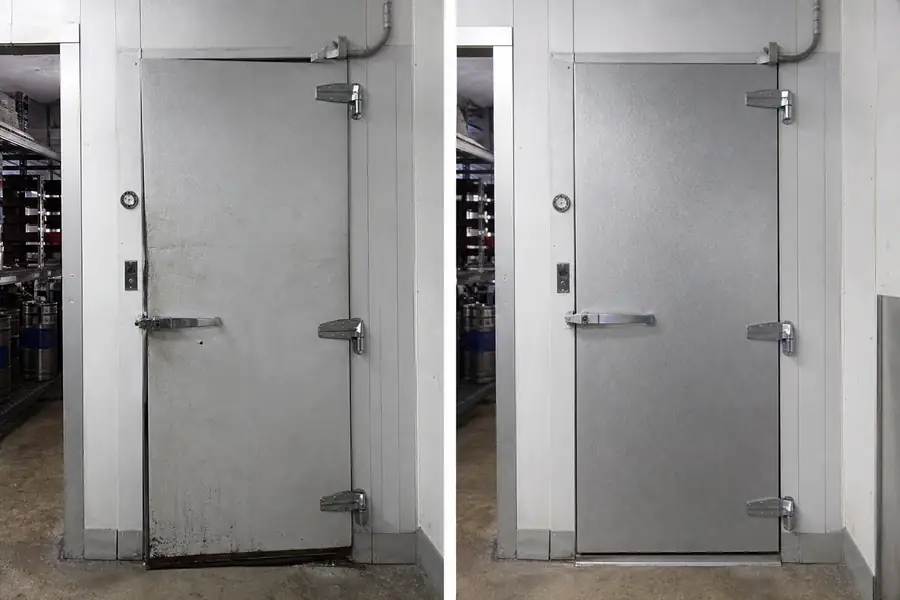
Walk-in swing doors
A walk-in door gasket is a long, heavy run that has to hold consistent contact around a much bigger frame than a reach-in. Any sag in the door itself, even a fraction of an inch, shows up as a gap somewhere along that run no matter how carefully the gasket goes in.
Compression profiles
A compression gasket seals by being squeezed evenly under the door's own closing pressure, rather than snapping into a fixed channel. Overtightening one corner to compensate for a gap elsewhere just moves the leak instead of fixing it.
Any door that is not square
A door is square when its frame and panel line up evenly on all sides, so the gasket makes the same contact pressure everywhere it touches. No gasket, however well fitted, seals evenly on a door that's twisted, dropped on its hinges, or bowed from age.
Job type
DIY feasibility
Why
Snap-in reach-in gasket
Good
Simple channel; correct part is the main variable
Prep table lid seal
Good
Short run, easy corners
Screw-in run
Harder
Alignment and closer tension involved
Walk-in swing door
Harder
Long run, door weight, hinge alignment
Compression profile
Harder
Needs even pressure across the whole door
Door not square
Not DIY-friendly
No gasket seals evenly on a twisted frame
Where DIY attempts actually go wrong
Most failed DIY gasket jobs trace back to one of four mistakes: the wrong profile, a stretched gasket, a corner that won't sit, or a seal fitted to a door that was already sagging.
Ordering the wrong profile
Profile numbers vary by brand, model year, and sometimes by the specific door within a model line, so a gasket that looks identical in a photo can be the wrong width or bulb shape. Checking a full parts catalogue against the old gasket's measurements before ordering avoids a second shipping wait.
Stretching the gasket into place
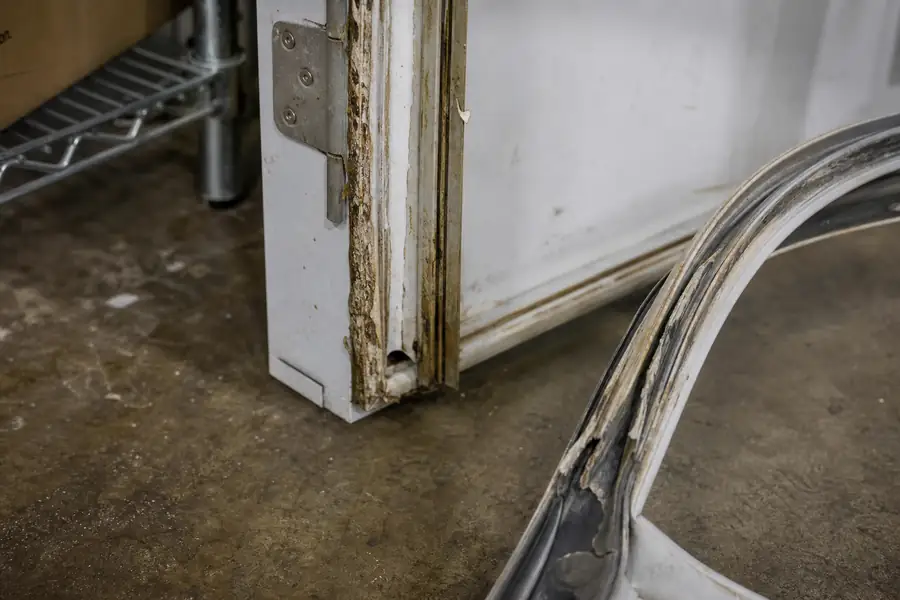
Gasket material is meant to be pressed into its channel at rest length, not pulled taut to make it reach. A stretched gasket looks fine on install day, then shrinks back over the following weeks and pulls away from the frame where it was pulled hardest.
Corners that will not sit
Corners need to be seated in a sequence that lets the material relax into the miter, not forced into place last. A corner installed under tension will bulge or lift within days, and that gap is usually where frost starts building first.
Fitting a seal to a sagging door
A gasket fitted to a door that isn't square will show a gap on one side no matter how well the seal itself is seated, because the problem isn't the gasket. It's the door.
What a service visit includes beyond the install
A professional gasket service visit checks the hinges, closer, and door alignment along with the seal itself, because a new gasket on a misaligned door tends to fail again within months. The Gasketeers walk through three steps on every call: confirm the unit and gasket profile, measure and quote on site, then install and check that the door swings, latches, and seals square before calling the job done.
That last check catches problems a DIY gasket swap usually misses, like a closer pulling unevenly or a hinge pin worn enough to let the door drop half a degree. Our full comparison of DIY versus professional gasket replacement goes deeper into where that line sits for other equipment types, including custom and obsolete units.
The middle path: we supply, you fit
Some jobs fall between full DIY and a full service call. If you're confident measuring and pressing a straightforward snap-in run into place but want the profile matched exactly first, ask about supply options when you contact The Gasketeers for a quote. Whether a job supports supply-only depends on the unit and how it's mounted, so it's worth asking directly.
Frequently asked questions
Can I replace a commercial refrigerator gasket myself?
Yes, for many reach-in coolers and prep tables with a snap-in gasket profile, replacing the seal yourself is realistic if you order the exact part number for your make and model. Walk-in doors and doors already out of square are harder to get right, and a failed attempt often costs more once a technician has to fix both the gasket and the fit.
How hard is it to replace a refrigerator door gasket?
On a snap-in reach-in or prep table lid, it's a fifteen to thirty minute job once the gasket is warmed enough to flex into the channel. On a walk-in swing door or a screw-mounted run, the job takes longer and often exposes a hinge or closer problem that needs fixing at the same time.
Do you need special tools to replace a gasket?
A snap-in gasket usually needs nothing more than warm water and a flat tool like a putty knife to press the bead into the channel. Screw-in gaskets need a screwdriver and sometimes a way to trim the run to length, and getting the mounting holes to line up is where most of the difficulty lives.
Why won't my new gasket sit flat?
A gasket that won't sit flat is usually the wrong profile for that door, stretched during installation, or being asked to seal a door that's no longer square on its hinges. Corners are the most common failure point, since they need to be seated in sequence rather than forced into place last.