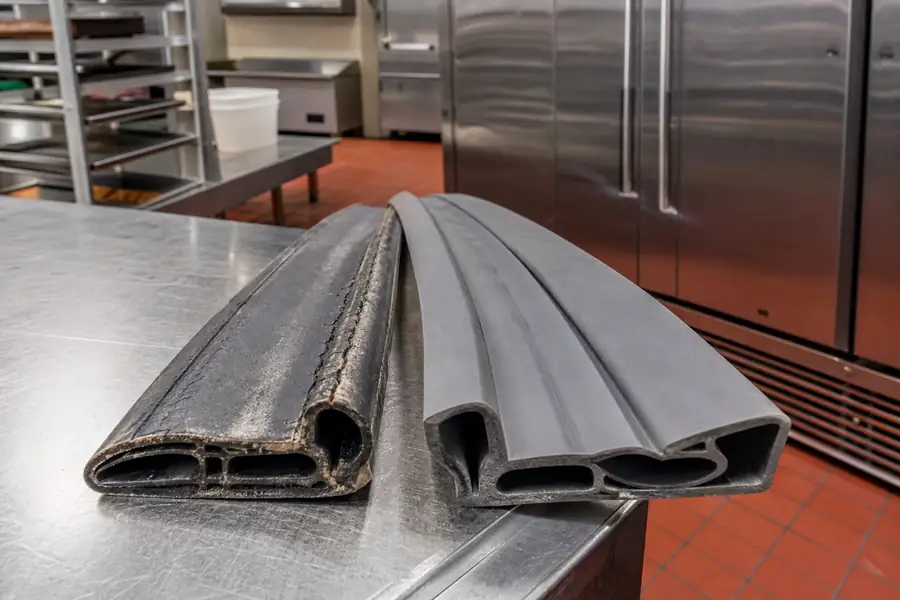
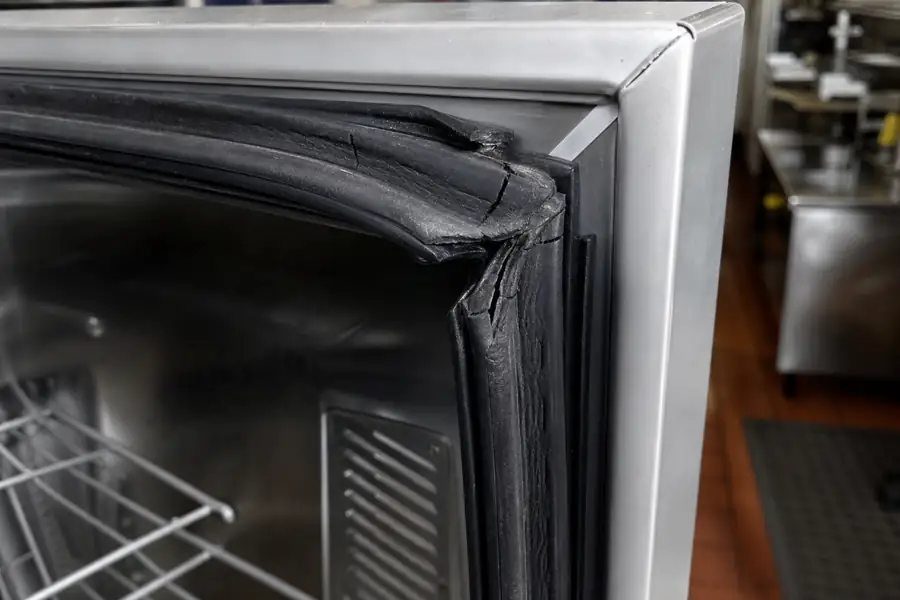
Quick answer: The dollar bill test only catches an obviously loose spot in a refrigerator gasket. It misses uniform compression loss across the whole seal, a magnet strip that has gone weak, and any gap above eye level, three failure patterns that quietly drive up run time and can still fail a health inspection. Three follow-up checks, a light-leak test, a six-point compression check, and a pull-to resistance test, catch what the dollar bill test can't. Run all four on one door in about five minutes.
Every kitchen manager in Boulder County has run the dollar bill test at some point, usually because someone read about it online. It's a fine first pass. It isn't a diagnosis, and treating a pass as a clean bill of health is how a seal problem turns into a compressor running around the clock.
What the refrigerator gasket dollar bill test actually checks
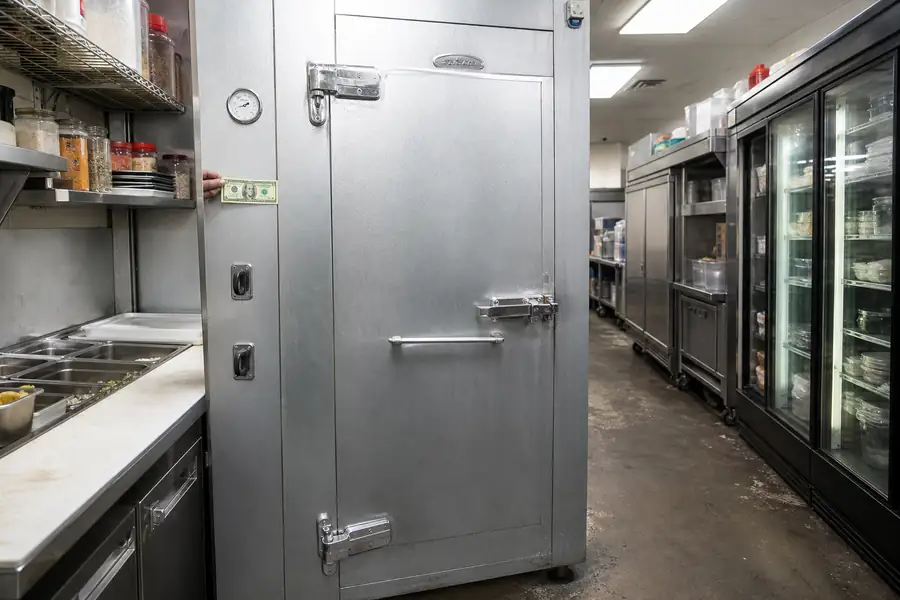
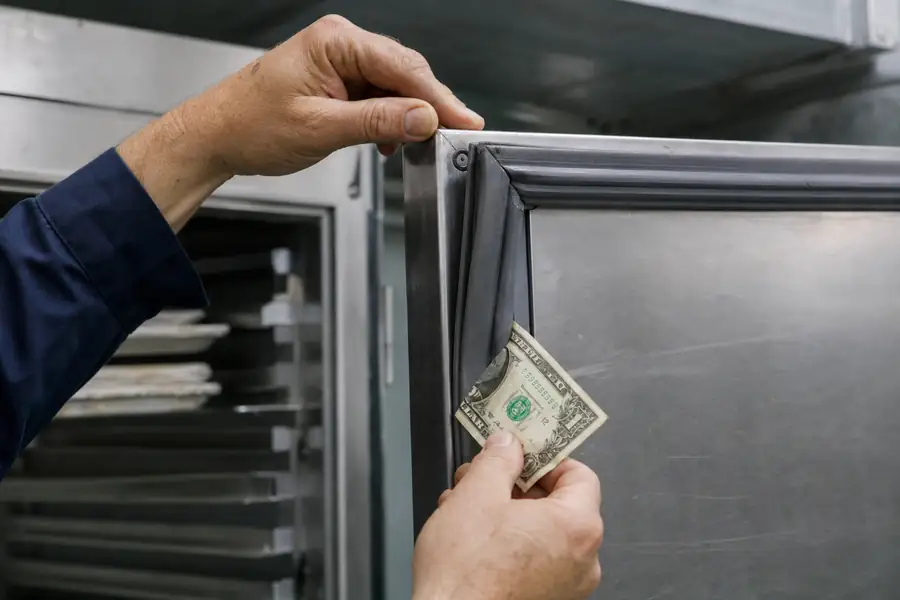
The dollar bill test measures whether a gasket still grips a slim object at the exact spot you test it. You close the door on a bill so half hangs outside, then pull. A healthy gasket holds the bill with steady resistance.
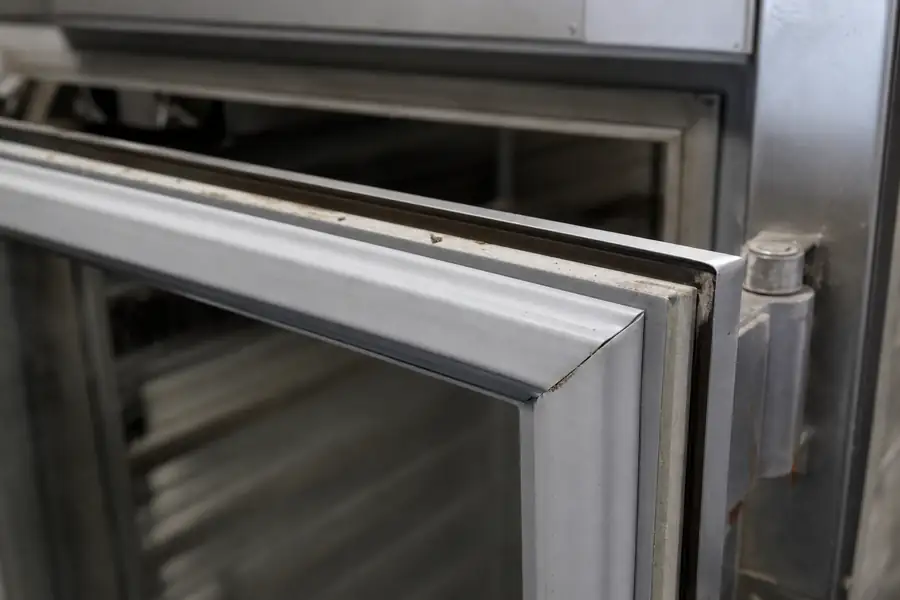
Compression is the squeeze a gasket's foam core puts against the door frame when the door closes, and that squeeze is what keeps cold air in and warm, moist air out. The dollar bill test is really a spot check of compression at wherever the paper happens to sit.
Run it at a handful of points around the frame and you get a sample, not a survey of the whole seal.
Need a gasket replaced?
Call us or send your unit's model number. Free quotes across Boulder County, usually same week.
Three failure patterns slip past the dollar bill test because a pass at a few spots can't reveal them.
Uniform compression loss
A gasket that has lost compression evenly, all the way around, still grips a dollar bill at every spot you try, because there's no local weak point to expose the slack. A cafe in Longmont passed the dollar bill test on every side of its walk-in door, then failed an inspection the next week because the whole seal had simply worn thin at the same rate.
A dead magnet strip
A magnetic strip runs inside most gasket profiles and pulls the door tight against the frame on its own, separate from the rubber's grip. Stiffened rubber can still pinch a dollar bill even after that magnet has weakened past the point where it can hold the door shut by itself, so the test passes while the door drifts open under its own weight.
Anything above eye level
Most people test the side jambs and skip the top rail, especially on reach-ins and walk-in doors taller than they are. Cold air sinks and warm air rises, so a gap at the top of a freezer door lets warm air push in first, right where almost nobody runs the test.
Check 1: the light-leak test from inside the cabinet
The light-leak test finds gaps the dollar bill test skips, because it uses the whole perimeter of the gasket as the test surface instead of a handful of spots. Turn off the cabinet's interior light, close the door, and put a flashlight or trouble light inside pointed at the seal while the room stays lit. Any place light shows through around the frame from outside is a gap you can see and photograph, so you know exactly where the seal fails instead of just that it fails somewhere.
Check 2: compression width at six points
A six-point compression check catches uneven sealing that a single dollar bill pull never will. Measure resistance at both top corners, both bottom corners, and the middle of each side using a folded index card in place of the dollar bill, then compare how much pull each spot takes.
Even resistance at all six points means the gasket is compressing consistently. Uneven readings, hard at one corner and loose at the opposite one, usually point to a warped door or a sagging hinge rather than a worn gasket.
Check 3: the pull-to test
The pull-to test measures holding force, the one thing the dollar bill test can't touch because it only checks whether rubber pinches paper, not whether the whole gasket pulls the door shut and keeps it there. With the door closed, grip the handle and pull steadily without yanking.
A sealed door resists briefly, then releases with a short suction pop as air breaks the seal. A door that swings open with no resistance at all means the magnet or the compression has already failed, even if the dollar bill test passed at every spot checked.
Running all four checks in five minutes
Check
What It Catches
Tool Needed
Time
Dollar bill test
Local gaps at tested spots
A dollar bill
1 minute
Light-leak test
Gaps anywhere around the frame
A flashlight or trouble light
1 minute
Six-point compression check
Uneven compression from a warped door or worn hinge
A folded index card
2 minutes
Pull-to test
Weak magnet or lost holding force
None
Under 1 minute
Run them in that order on one door and you'll have a complete picture in under five minutes: where a gap sits, whether it's even around the frame, whether the door itself is square, and whether the seal still pulls the door shut on its own. Save this dollar bill test and better checks guide and tape a copy of the table inside the walk-in for the next inspection.
What a failed check means and what it does not
A failed check points to a cause, not automatically to a dead gasket. The Gasketeers runs all four checks on every service call for exactly this reason.
Failing the pull-to test only near the hinge side usually means the hinge has sagged and pulled the door out of square, not that the gasket itself is worn. Failing every check evenly around the whole door, dollar bill, light leak, compression, and pull-to, means the gasket has genuinely worn out. Failing only at the latch side often traces back to a closer or a sweep that's no longer holding the door tight against the frame, a separate repair from the gasket itself.
When to stop testing and get it looked at
Stop testing and get the door looked at once two or more checks fail, or a failed check shows up alongside frost buildup, condensation on the frame, or a compressor that won't stop cycling. At that point you're past the stage where a home fix solves it.
Contact The Gasketeers for a clear, no-obligation look at the door, and to request a free gasket quote before the seal costs more in energy and spoiled product than the fix would.
Frequently asked questions
Does the dollar bill test work on refrigerator seals?
The dollar bill test works as a quick screen for an obviously loose spot in a commercial refrigerator door seal, but it doesn't test the whole gasket at once. It misses uniform compression loss, a weak magnet strip, and gaps above eye level, so a seal can pass the dollar bill test and still let warm air into the cabinet.
How do you check a commercial refrigerator door seal?
Check a commercial door seal with four passes: pull a dollar bill through a few spots around the frame, shine a light from inside the closed cabinet to spot gaps anywhere around the perimeter, measure compression at six points with a folded index card, and pull the closed door by the handle to feel whether it resists and releases with a soft suction pop. Running all four takes about five minutes on one door.
What is the light test for a cooler door?
The light test checks a closed cooler or walk-in door for gaps by putting a light source inside the dark cabinet and looking from outside for light showing through the seal, or the reverse. Any spot where light shows around the frame is a gap, and it catches problems around the whole perimeter rather than just the few spots a dollar bill happens to touch.
How tight should a fridge door seal be?
A commercial door seal should resist a slow pull with steady, even tension all the way around the frame and release with a short suction sound, not swing open freely. If one side of the door pulls easily while another resists hard, the door or hinge is out of square rather than the gasket being uniformly worn.